Cherries in the Snow Cake Recipe
Published on December 05, 2023
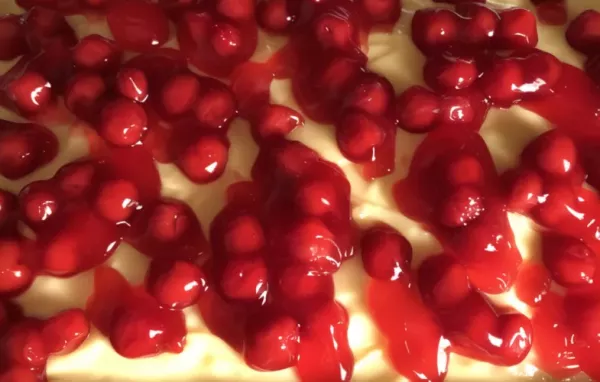
Indulge in this heavenly Cherries in the Snow Cake recipe. This refreshing dessert combines a light and fluffy cake with a creamy cheesecake filling and sweet cherries on top. Perfect for summer, this cake is both visually stunning and incredibly delicious. It's a showstopper dessert that will impress any crowd. With its vibrant red and white colors, this cake is also great for festive occasions such as Christmas or Valentine's Day. Follow this easy recipe and get ready to wow your guests with this delightful Cherries in the Snow Cake.
Ingredients
- For the Cake:
- - 2 cups all-purpose flour
- - 2 cups granulated sugar
- - 1 teaspoon baking powder
- - 1/2 teaspoon salt
- - 1 cup unsalted butter, softened
- - 4 large eggs
- - 1 cup milk
- - 1 teaspoon vanilla extract
- - Red gel food coloring
- For the Cheesecake Filling:
- - 16 oz cream cheese, softened
- - 1 cup powdered sugar
- - 1 teaspoon vanilla extract
- - 2 cups whipped topping
- For the Cherry Topping:
- - 4 cups fresh cherries, pitted and halved
- - 1 cup granulated sugar
- - 1/4 cup water
- - 2 tablespoons cornstarch
- - 1/4 cup cold water
- - 1/2 teaspoon almond extract
Directions
- Preheat your oven to 350°F (175°C). Grease and flour two 9-inch round cake pans.
- In a medium bowl, whisk together the flour, baking powder, and salt. Set aside.
- In a large mixing bowl, cream together the softened butter and granulated sugar until light and fluffy.
- Add the eggs, one at a time, beating well after each addition. Stir in the vanilla extract.
- Gradually add the dry ingredients to the butter mixture, alternating with the milk. Begin and end with the dry ingredients.
- Divide the cake batter equally into two separate bowls. Add a few drops of red gel food coloring to one bowl and mix until you achieve a vibrant red color.
- Pour the red and white batters into the prepared cake pans, alternating colors to create a marbled effect. Swirl the batters together gently with a toothpick or skewer to create a marbled pattern.
- Bake the cakes in the preheated oven for 25-30 minutes or until a toothpick inserted into the center comes out clean.
- Remove the cakes from the oven and let them cool in the pans for 10 minutes. Then, transfer them to a wire rack to cool completely.
- In the meantime, prepare the cheesecake filling. In a large mixing bowl, beat the cream cheese until smooth and creamy. Add the powdered sugar and vanilla extract, and mix until well combined.
- Gently fold in the whipped topping until the filling is light and fluffy. Set aside.
- To make the cherry topping, place the cherries, granulated sugar, and 1/4 cup of water in a saucepan over medium heat. Cook, stirring occasionally, until the cherries release their juices and the sugar is dissolved.
- In a separate small bowl, dissolve the cornstarch in 1/4 cup of cold water. Slowly pour the cornstarch mixture into the cherry mixture, stirring continuously.
- Cook the cherry mixture over medium heat until it thickens. Remove from heat and stir in the almond extract. Let the cherry topping cool completely.
- Once the cakes are cooled, place one cake layer on a serving plate. Spread a generous amount of the cheesecake filling evenly over the cake.
- Top the filling with half of the cherry topping, spreading it evenly.
- Place the second cake layer on top and repeat the layering process with the remaining cheesecake filling and cherry topping.
- Refrigerate the assembled cake for at least 1 hour to set.
- When ready to serve, slice and enjoy this delicious Cherries in the Snow Cake!
Interesting Facts
You’ll Also Love


